
How to set up and install printing consumables step by step?
Direct Answer
Setting up printing consumables involves seven key steps: prepare a clean workspace, install the correct ink system, load transfer film or paper, configure RIP software with color profiles, run nozzle checks and test prints, perform a live transfer test, and establish a daily maintenance routine. Following the manufacturer’s specifications for temperature, humidity, and materials ensures consistent print quality and protects your printhead investment. FCOLOR provides matched consumables and setup guidance to streamline this process.
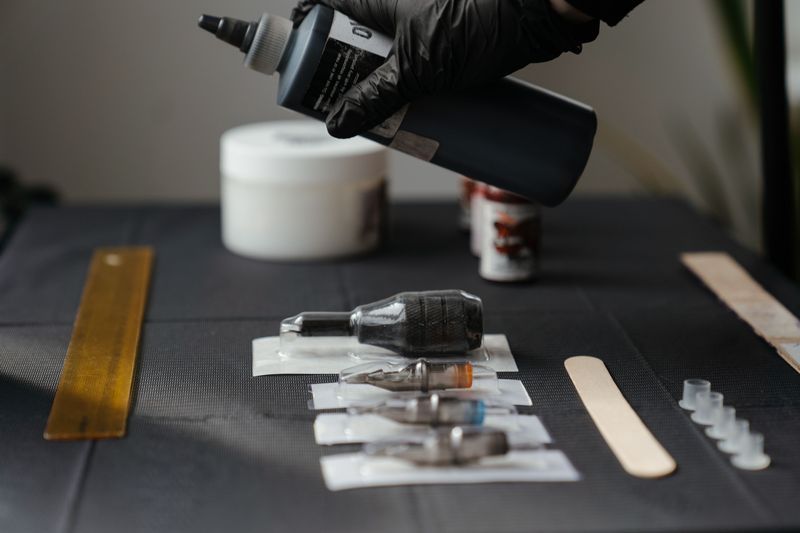
Step 1: Pre-Installation Checklist
Before opening any consumables, verify that you have the complete kit: the correct ink set for your process (DTF, sublimation, UV, or DTG), compatible transfer film or paper, adhesive powder for DTF, cleaning solution, lint-free wipes, gloves, and the manufacturer’s ICC profile. Check your environment: ideal temperature is 20–28°C (68–82°F) and relative humidity should be 45–60%. Keep consumables sealed until use to avoid moisture, dust, and UV exposure. FCOLOR consumables ship with compatible profiles and a setup reference card to reduce trial and error.
Step 2: Install the Ink System
For DTF and DTG systems, install CMYK plus white ink channels. Shake white ink bottles thoroughly for 2–3 minutes before filling because white pigment settles quickly. Fill each tank to the indicated maximum line and avoid overfilling. For sublimation printers, use only dye sublimation inks in the correct reservoirs—standard inkjet inks will damage the system. For UV printers, load the UV-curable ink set specified by the manufacturer. After filling, prime the ink lines and run a nozzle check to confirm every channel is firing. If lines are missing, run a head cleaning cycle before proceeding.

Step 3: Load Transfer Film or Paper
Load DTF PET film or sublimation transfer paper with the printable side facing the correct direction. For DTF, the matte side typically faces up. Align the media straight in the tray or roll holder to prevent skewed prints. Set paper width and thickness in the printer driver or RIP software. For sublimation, use high-quality transfer paper and set the media type to sublimation or photo paper. Keep unused film and paper sealed in a cool, dry place to prevent moisture absorption and curling.
Step 4: Configure RIP Software and Color Profiles
Install the RIP software provided with your printer, add your printer model, and load the manufacturer’s ICC color profile. For DTF, set the print order to color first, then white underbase, with white opacity starting at 100% and adjusted after test prints. Set resolution to 600×1200 dpi for standard output or 720×1440 dpi for fine detail. Enable mirror image printing for transfer processes so designs appear correctly on the final substrate. Save these settings as a custom profile for quick reuse.

Step 5: Nozzle Checks, Test Prints, and Calibration
Print a nozzle check pattern and verify that all colors are complete and unbroken. Print a small test design on plain paper first to confirm mirroring and color output. Then print on the actual transfer film or paper and inspect for banding, missing colors, or smudging. If needed, adjust ink density, color saturation, and white opacity in the RIP. For DTF, apply adhesive powder evenly while the ink is wet, cure at 110–120°C for 2–3 minutes, then heat press onto fabric at 150–160°C for 10–15 seconds. Peel the film according to the hot or cold peel specification.
Step 6: Daily Maintenance and Troubleshooting
After installation, establish a maintenance routine: shake white ink bottles daily, run a nozzle check before each production run, clean the printhead and capping station weekly, and use a maintenance solution if the printer sits idle for more than 24 hours. Keep your workspace dust-free and store consumables sealed. If you see clogged nozzles, banding, or color shifts, first check ink levels, humidity, and media loading before running aggressive cleaning cycles.
Printing Consumables Setup Checklist
- Confirm workspace temperature 20–28°C and humidity 45–60%
- Verify ink compatibility with your printer and process
- Fill CMYK+W ink tanks; shake white ink before use
- Prime ink lines and run a nozzle check
- Load transfer film/paper with correct printable side up
- Install RIP software, ICC profile, and printer driver
- Set mirror image, resolution, and white opacity
- Print test transfers and adjust settings before production
- Schedule daily ink shaking and weekly cleaning
Related Questions
- What materials are used in professional-grade printing consumables?
- Printing consumables: Chinese brands vs European brands - which is better?
- Best budget-friendly printing consumables for startup printing businesses
- Essential printing consumables accessories and consumables for daily operation
- How to maintain and clean auxiliary equipment for longer lifespan?
Get consistent, professional results from day one with FCOLOR matched inks, films, powders, and setup guides. Explore FCOLOR Printing Consumables →
Are you looking for a reliable manufacturer of inkjet ink and printer products?
We can quickly provide customers with market analysis, technical support and customized services.

- Name
- Phone
- *Title
- *Content