The Specific Steps for DTF Printing
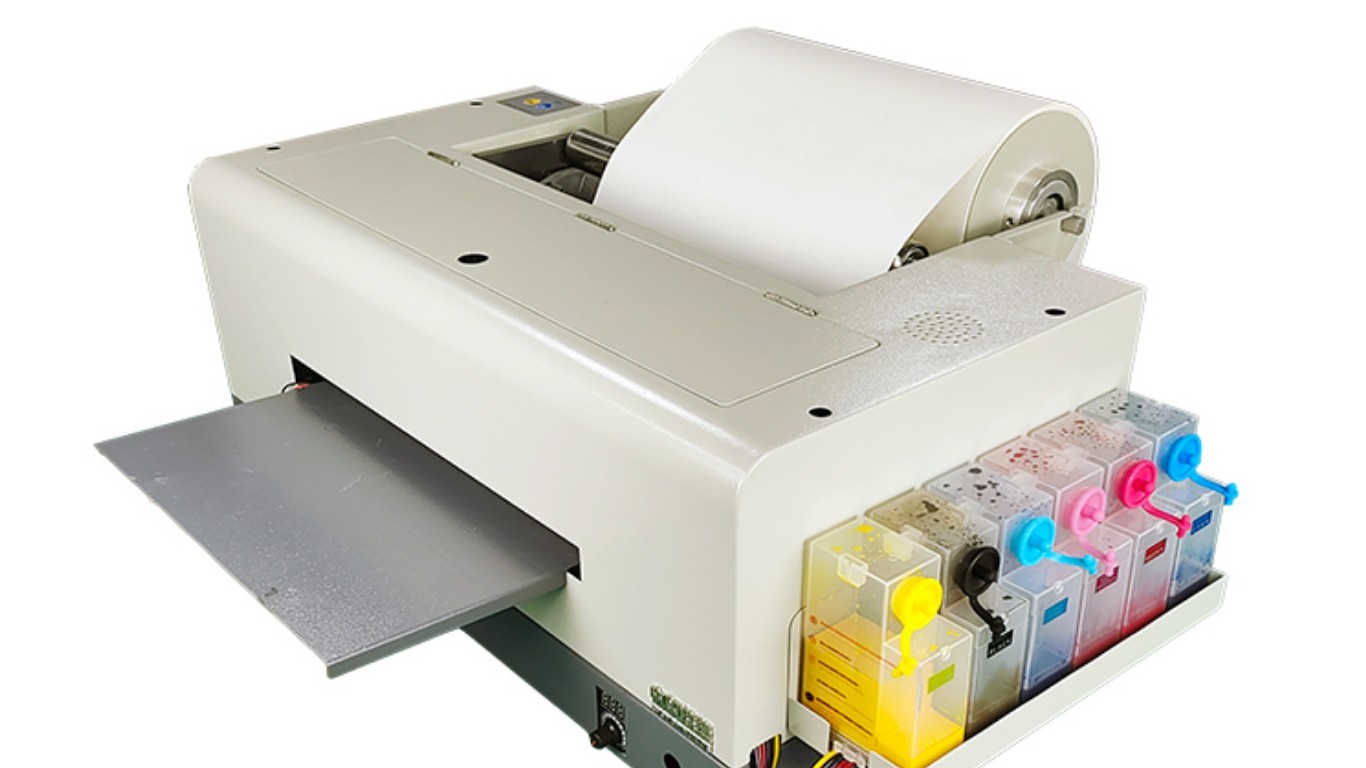
The DTF printing process is very simple. If you are using a simple home inkjet printer, remove the paper from the tray and replace it with "PET" film. So first you need to create your graphic and get it ready for printing.
There are actually no graphics requirements to create DTF prints, you can define your own images according to your needs. The shunt steps of DTF printing are described in detail below.
Step 1: Print on Film
Insert the PET film into the printer tray.
Click Print.
Inkjet printers will "print directly to film", transferring the image to your PET film.
Be careful not to smudge the paint when removing it from the tray!
Step 2: Apply the Powder
This step is to apply the hot melt powder to the film printed with the image.
You must apply the powder while the paint is still wet!
Make sure to apply the powder evenly.
Typically, you would put a tray next to the printer, sprinkle the power supply on the web, and swing it back and forth until it covers the wet ink. Then carefully shake off the excess.
Step 3: Melt the Powder
As the description suggests, your next step is to actually melt the powder into place.
The most common method is to put the DTF transfer film directly into the oven for about 2 minutes.
There is no intentional curing time and temperature for DTF transfer.
Best to check with the manufacturer!
Step 4: Pre-Press
Be careful to place the product flat. Because any wrinkles will show up on the print!
Perhaps more importantly, it dries the material completely. You'd be surprised how fabric can absorb moisture from the air, which can affect print quality.
Step 5: Apply DTF Transfer
Once you have a direct-to-film transfer, you don't need to use it right away. Like most other types of transfers, they are stored well.
Place the PET film with the image and molten powder on the pre-pressed material in the heat press. You'll then heat-press the transfer material onto the shirt or other material following the current manufacturer's instructions, unlike throwing a screen-printed shirt into a tunnel dryer, a process typically recommended to take less than 30 minutes.
Step 6: Strip DTF Transport
DTF uses cold peel. So after heat pressing onto the shirt, set it aside until the fabric and transfer material are completely cool.
If you're making a series of bills, you can press them down one by one and start peeling them when they're all cool.
The cooled hot melt acts as a binder, binding the colored pigments in the ink to the product.
After the film has cooled, peel off the transfer film, leaving the desired design behind!
Step 7: Direct to DFT Film Finishing Press
You should absolutely do this on every product. Like white toner printer transfers, DTF requires a final print to really solidify the life of the printer. It improves the wash's "fastness" by leaps and bounds. Typically, you only need to invest an extra 10 to 15 seconds for this last step.
The above introduces the diversion steps of DTF printing for you if you also want to buy a DTF printer for printing. Welcome to contact us.
Fullcolor is a professional custom printer and compatible ink supplier. Products include: dye-based inks, pigment inks, sublimation inks, environmentally friendly solvent inks, film inks, DTF printer inks, ink cartridges, inkjet printers, PVC/ID cards, card printers, label printers; sublimation/digital printing equipment, and consumables; Customized solutions are also provided to customers.


